
Setup for GRBL AIO or GRBL Gecko-based controllers
Step 1: Install USB Drivers
Please download the latest Silicon Labs CP210X driver for your operating system. Operating systems supported OSX, Windows (XP,7,8,10) & Linux
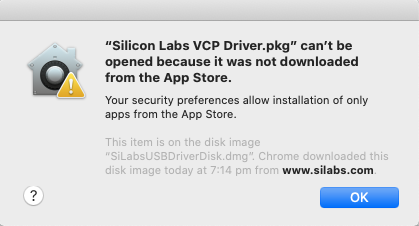
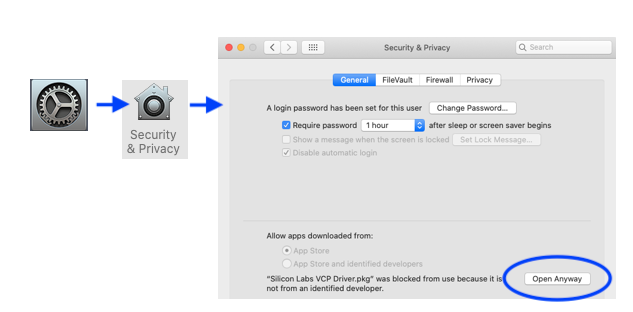
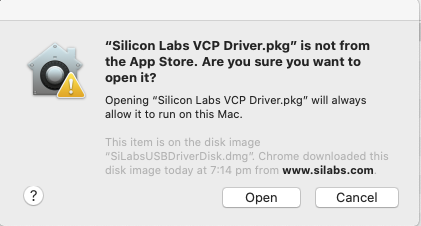
Note for OSX Users:
You may receive a notice that the program ‘cannot be opened’, in which case you mist open preferences, security and privacy. You will see an ‘open anyway’ button on the general tab if it’s greyed out you may need to click the padlock and enter your password. click open anyway at which point you can continue. You may be asked again at some point ‘are you sure’ and you must choose open. All as show in the images below.
Step 2: Install the 64-bit version of Java.
Java 64 bit edition is not the default installation so even if you have java already you may need to grab a new copy.
Please download the version appropriate for your operating system from this official Java website. Please be sure if using windows that you download the item labelled ’64 bit’.
Step 3: Install Universal G-Code Sender (UGS).
There are many G-code senders that you can try, however, the UGS platform is simple, robust and has a setup utility so this is the one to use, or at least begin with. Please download it from the UGS website. We recommend the ‘2.0 Platform (Nightly build)’ version.
The resulting Zip file must be uncompressed. Windows users will need to right-click and choose extract here. Mac users simply double click. Copy the entire ‘ugsplatform’ folder onto your desktop, programs/applications folder.
Inside the ugsplatform folder, you will find another folder called bin, with 3 files in it.
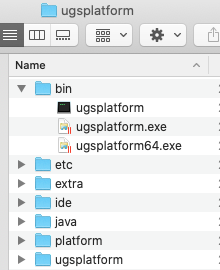
OSX Users will run the file named ‘ugsplatform’, windows users run ‘ugsplatform64.exe’
Step 4: Connect To GRBL.
OSX Users then select the following port and baud rate 
and then the connect button which is circled in the images above.
Windows Users select the Commport associated with the machine (details on how to identify this in the video below), 115200 baud rate
and then the connect button which is circled in the images above.
Step 5: Configure and Test.
UPDATE: The video below suggests HM users to simply enter 32 in the step calibration for X & Y, the steps per MM for X & Y axis may now need to be set to either 32 or 40 depending on time of purchase, please use the calibration wizard to confirm the correct distance of travel for your machine.