Masso Setup.
The Masso CNC Controller has some excellent resources:
You can skim over most of the wiring information in the official documentation as the few wiring diagrams you have already followed will cover the wiring setup, the above links are for reference, you can move straight onto the list below.
Before starting:
Please connect a keyboard and mouse to the Masso USB ports, and a VGA monitor to the monitor output. These are the only remaining connections that have not been covered in the wiring diagrams. Most wireless keyboards work and are very handy as a wireless keyboard also acts as a pendant that can be taken with you to the machine. Wireless keyboard and mouse combos also use only a single USB port which for the GEN2 Masso saves having to use a USB hub.
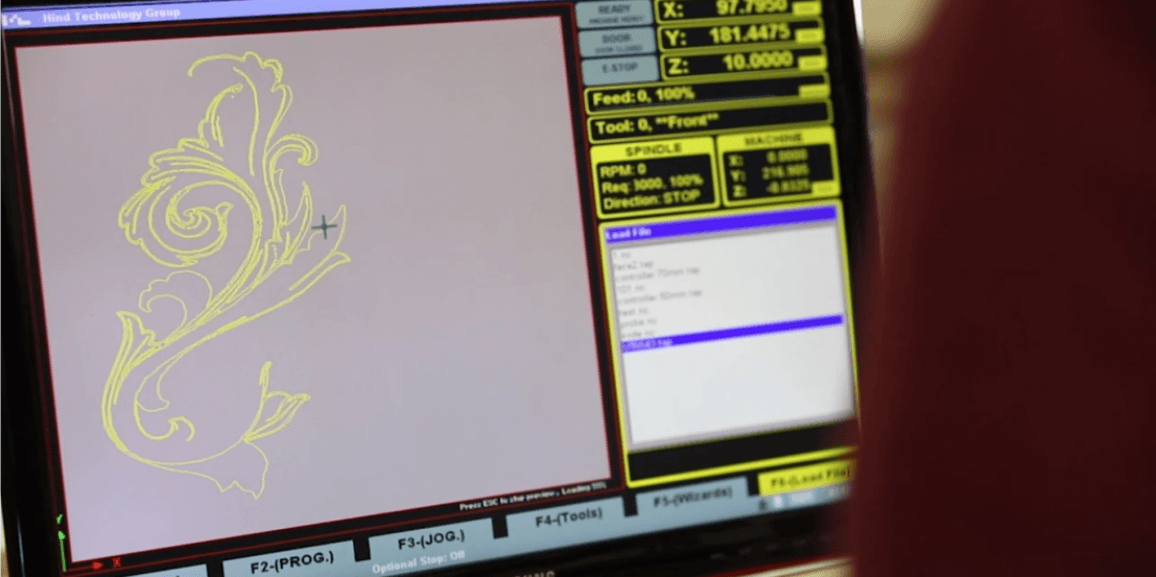
Have a look at the Masso interface
Step 1: Install License
The Masso Units come without firmware installed. Masso will email you your license which must be put on a USB stick and inserted into the masso.
Please find the files emailed to you by Masso and follow the video.
Masso G3 License Install. (See next video for G2)
Masso G2 License Install.
Step 2: Initial Power on
The password defaults to HTG, after loading the setup file in step 3 the passwords will be blank. If you are not in an environment where you need a password (such as a school), you can remove it in the initial password prompt screen.
The Masso will require you to press and release the Estop (as a safety test feature) each time you power it on so first things first, press then releases the E-stop.
You may also be seeing a door sensor error flashing in yellow at this early stage if so the following video explains how to clear it permanently.
Step 3: Configuring Masso
G2 Masso: Download the Masso G2 Configuration file And follow this guide to upload the file into the Masso. This configuration file presets most of the steps in the Masso’s Setup and Calibration section.
G3 Masso*:Download the Masso G3 Configuration file And follow this guide to upload the file into the Masso. This configuration file presets most of the steps in the Masso’s setup and calibration section.
- Note the Passwords after loading the settings file will be blank rather than the default “HTG”
Test Motor Directions:
- Press F3 to go to “F3 – Jog/Rapid” screen.
- Jog the XY axis of the machine around use Arrow keys on your keyboard, and for Rapid movement press and hold the SHIFT key and use Arrow keys.
- Jog the Z-axis of the machine up and down using the U for up and D for down, and for Rapid movement press and hold the SHIFT key.
Note, the Masso may want you to move in one direction before it allows you to move in the other. There are some small inconsistencies like this until the point that the homing cycle and soft limits are configured due to the protection features of the unit trying to keep you in bounds, without yet knowing what the bounds are.
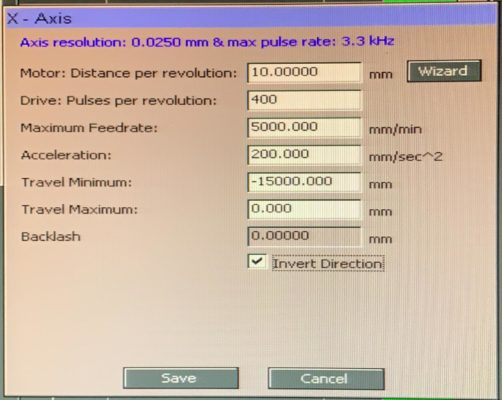
Your XY axis should follow the arrow keys when viewing the machine from the front. And your U key should jog the spindle up. If any of these are not as described, head into the F1 screen, select the appropriate axis setup from the left-hand column, tick the invert direction box and then save. Then go through this testing motor directions step again to be sure it’s working as expected.
See example image below we have inverted the X-axis.


Test Homing Cycle:
Once the Motor directions are confirmed good, jog the machine into the middle of its X Y and Z travel and prepare to test a homing cycle.
Once initiated we will expect to see the Z-axis move up, be ready to hit the escape key on the keyboard or the Estop if it instead goes down.
Press CTRL + ALT + HOME on your keyboard to begin a homing cycle. It will move the Z up and stop at the limit switch before moving the X & Y towards the rear left of the machine. Should it not follow this path or you would prefer the machine to home to a different corner, you can update the homing directions in the homing section found on the left-hand column of the F1 screen.
More info on homing cycles:
Setup Soft Limits
‘Soft limits’ are a limit to the travel that will be inforced through software, if the machine knows where you are (after being homed), and has soft limits correctly configured, it will attempt to disallow movement outside its known bounds. This is different from ‘hard limits’ which are a physical limitation provided by limit switches that attempt to stop the machine travelling past a point. The soft limits for every machine will be different as how far you can move along the X or Y axis will be dependant on how far out from the plate your limit switch trigger screws have been configured.
To set up the soft limits:
- First home the machine.
- Enter the F1 screen and select the X-Axis Setup from the left column, set travel minimum to -1500 and travel maximum to 0, then save.
- Select the Y-Axis Setup from the left column, set travel minimum to -1500 and travel maximum to 0, then save.
- Return to the F3 screen and jog it to the furthest extent that you can as close to the limit switches at the opposite corner of the machine from where it was homed, without actually triggering the limit switch. Should you hit the switch, start again with a homing cycle and then jog again to the opposite corner. It’s handy to limit the use of the shift key (rapid jogging) once you get close to the target so that you don’t overshoot.
- Write down the X & Y positions as shown in the digital readout in the top right-hand corner of the screen. Taking note that they may be negative values.
- Enter the F1 screen and select the X-Axis Setup from the left column, enter the value you recorded for the X-axis into the travel minimum, then save.
- Select the Y-Axis Setup from the left column, enter the value you recorded for the Y-axis into the travel minimum, then save
- Return to the F3 Screen and verify that you are not able to jog past this point approaching these closest two X & Y limit switches any further.
Run your first Job
You are now ready to run a test job. Read ‘loading and running G-Code’.
Things to note:
- You may need to download a post-processor specific to your cam program.
- Before actually hitting CTRL + S to start the job as detailed in ‘loading and running G-Code’, remember to first bring your spindle over to the correct area you are looking to run the job at and pressing CTRL +X and CTRL + Y to set the X & Y-Axis to work Zero positions. Then bring the spindle down till the endmill is touching the work surface and hit CTRL + Z to set the Z Work Zero position.
- For a first run, it’s a good idea to set the Z0 well above the stock so that it’s not actually going to cut anything – this is called air cutting.
Please contact [email protected] or call for support with any of the above.


